Sunday, May 30, 2010

Progressing Nicely

We have been working on our little 1967 Santa Fe Cub just about every day since I last posted. There were a couple of days of rain that delayed progress and in one case even caused us do redo work ruined by the rain. The work during the last 10 days has been tedious. A lot of time has been spent discussing the best way things could be done. My dad has a lot of input, he has owned and repaired his RVs for some 35 years. Our goal is to have our trailer ready for a camping trip on the 16th of June.

 
We had started to reconstruct the front end of the trailer the last time I posted. We ended up taking the front end off the next day so that we could run the electrical and place the floor more easily.

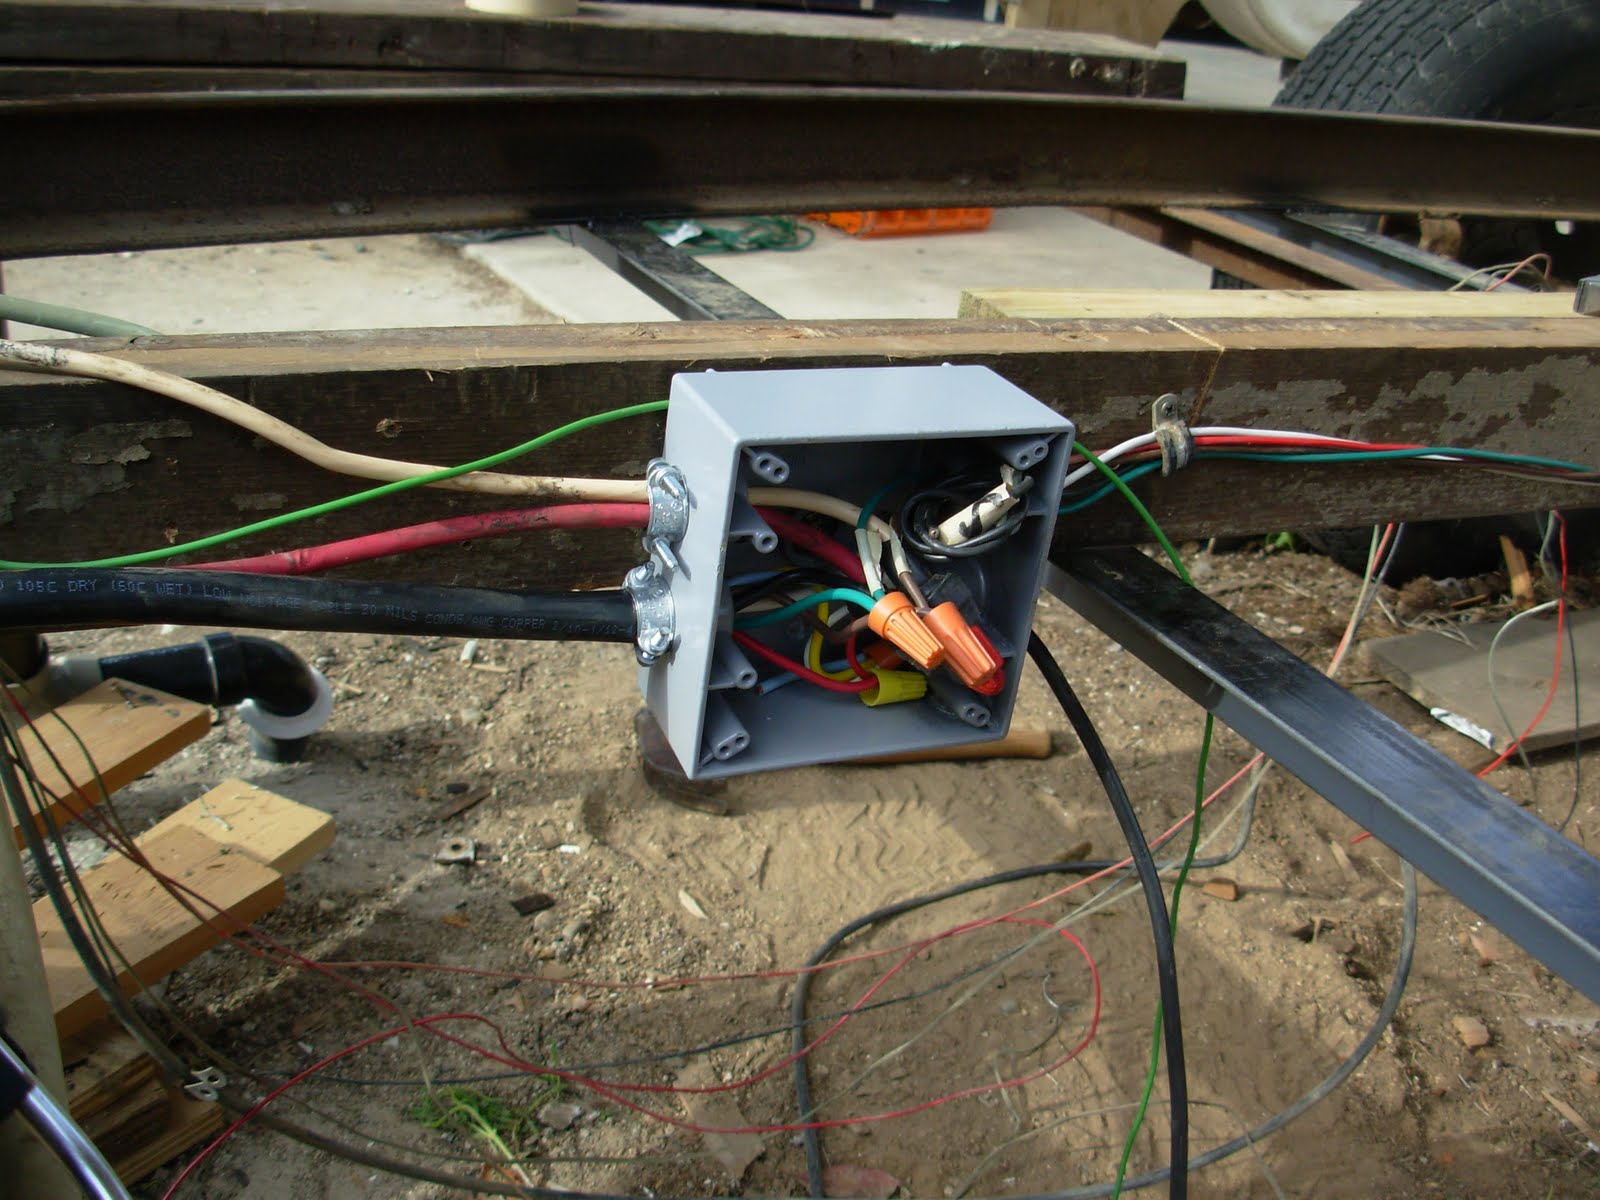
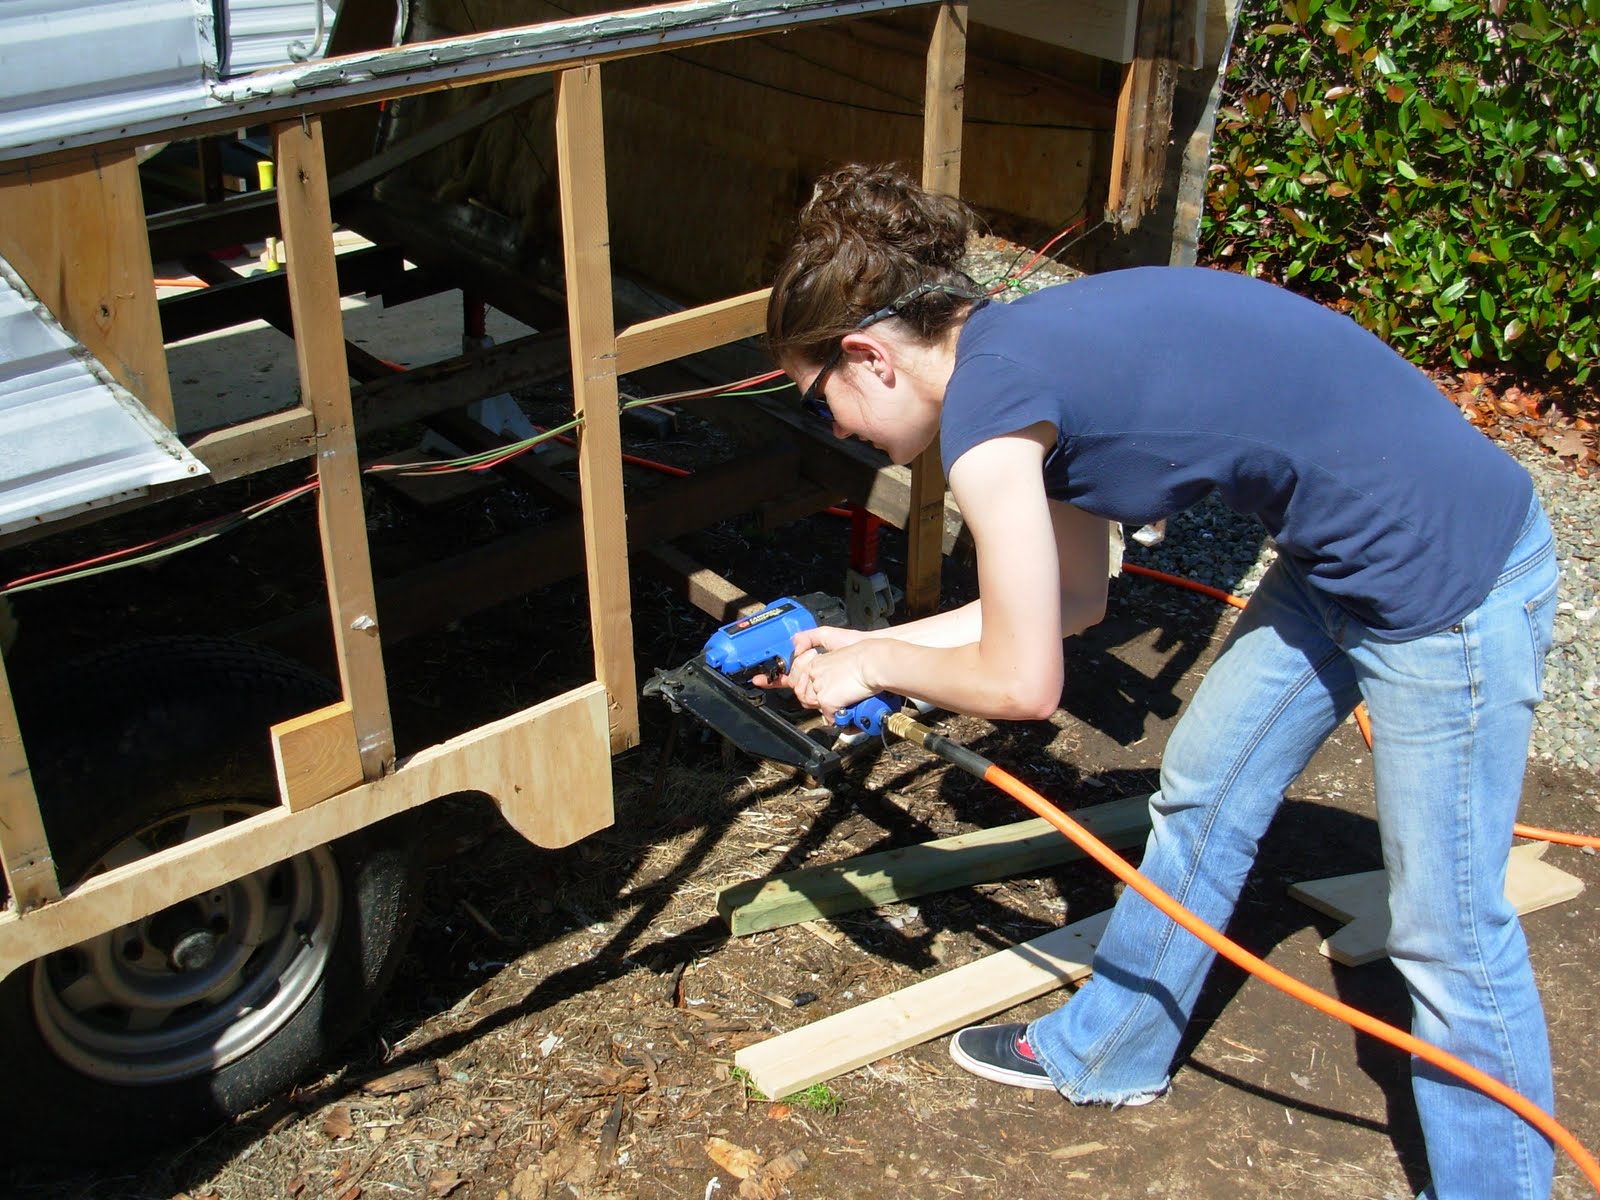
The wiring harness was originally a round 4 pin plug. We changed to a standard 7 pin plug. I purchased a new trailer side plug that was molded with 8 feet of wiring. My dad retrieved his electrical tool belt from the truck and got to work. I understand it now, but it sounded like a bowl of spaghetti when he was explaining it to me. Basically the wire from the plug goes to a junction box and every thing is connected in the box. We ran the wiring under the frame, instead of through the walls. Easier to get to if there is a problem. You will also notice 3 new pieces of lumber to support the floor.
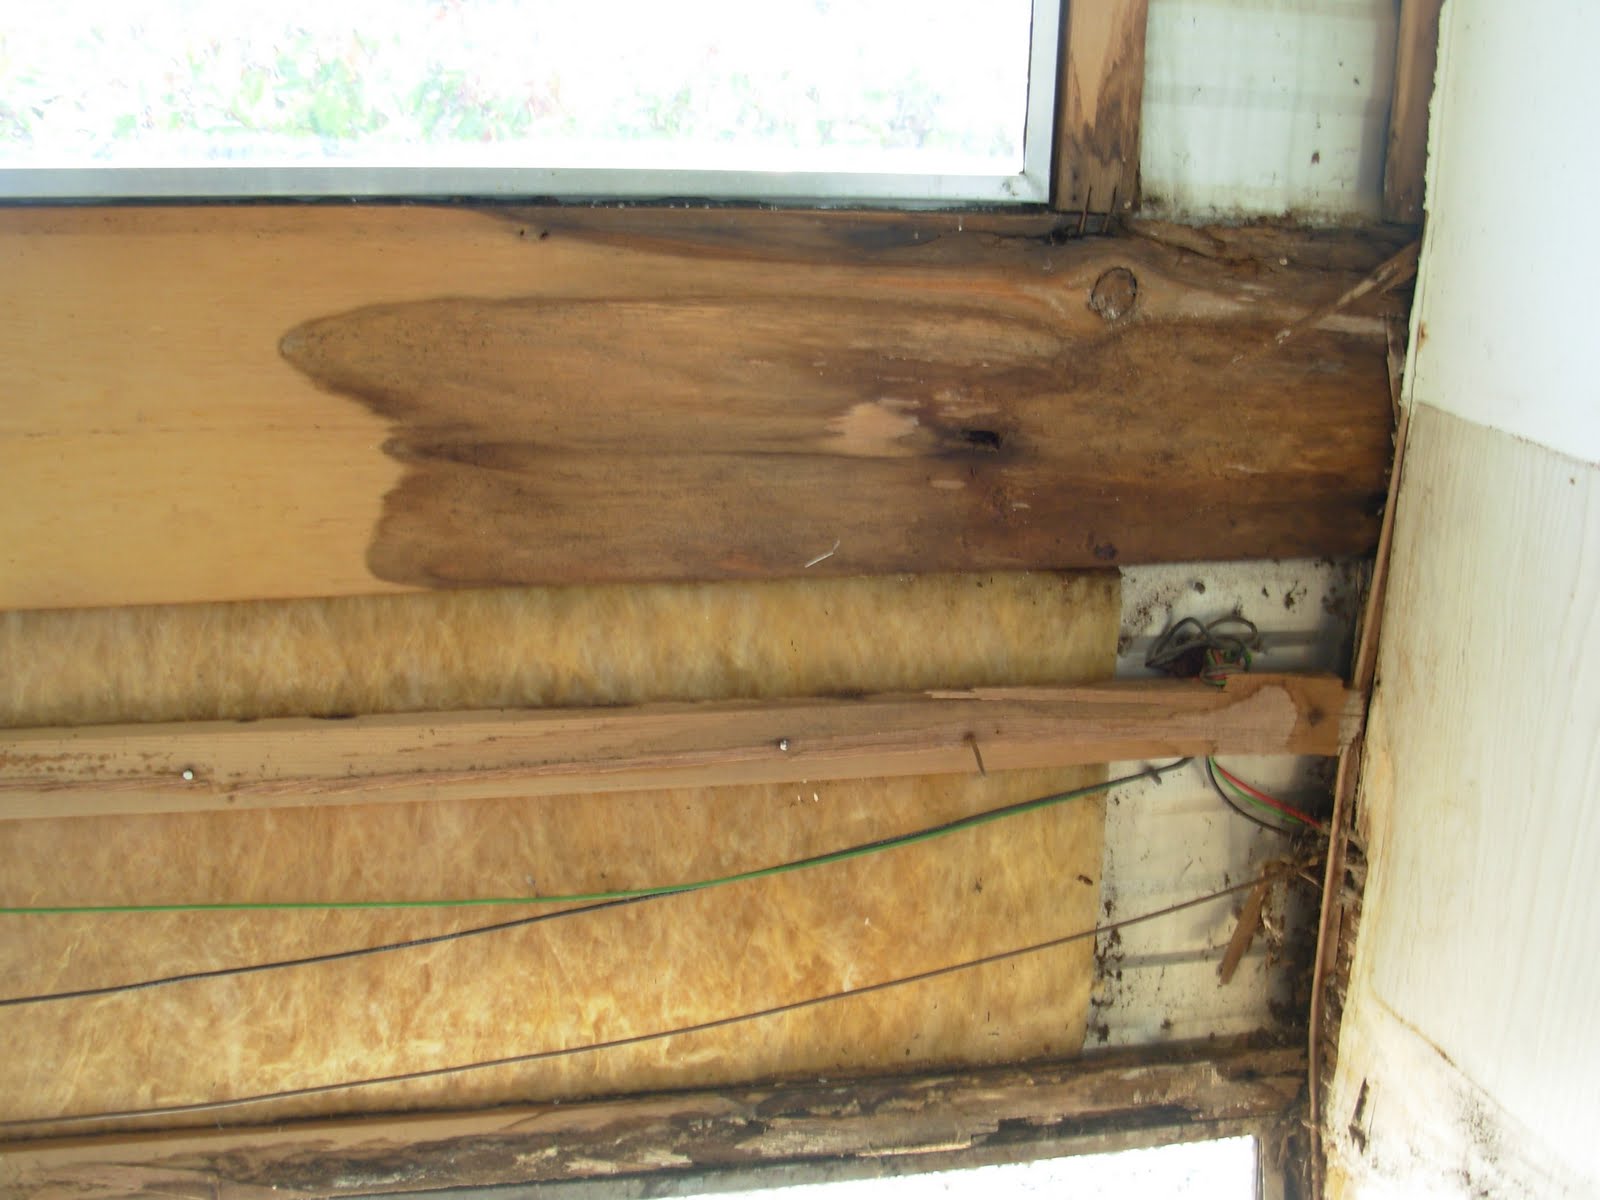
We decided to use 5/8" exterior ply board of the floor. The cut out for the wheel well was lined with window flashing tape. The tape is gooey pitch on a foiled plastic liner. The normal RV putty was then sandwiched between the well and the floor. The well is attached from the bottom. I found enough Under Belly liner at www.RVdoctorGeorge.com to take care of sealing her up good and tight. I am sparing nothing to ward off future damage from water and critters. We only breached the protective barrier in one spot to bring in the 12v power. On the side, RV Doctor George is located on El Camino behind Pan Pacific. If you live in the area and need a used piece of anything RV, it can be found here. It is a fun place to wander around.
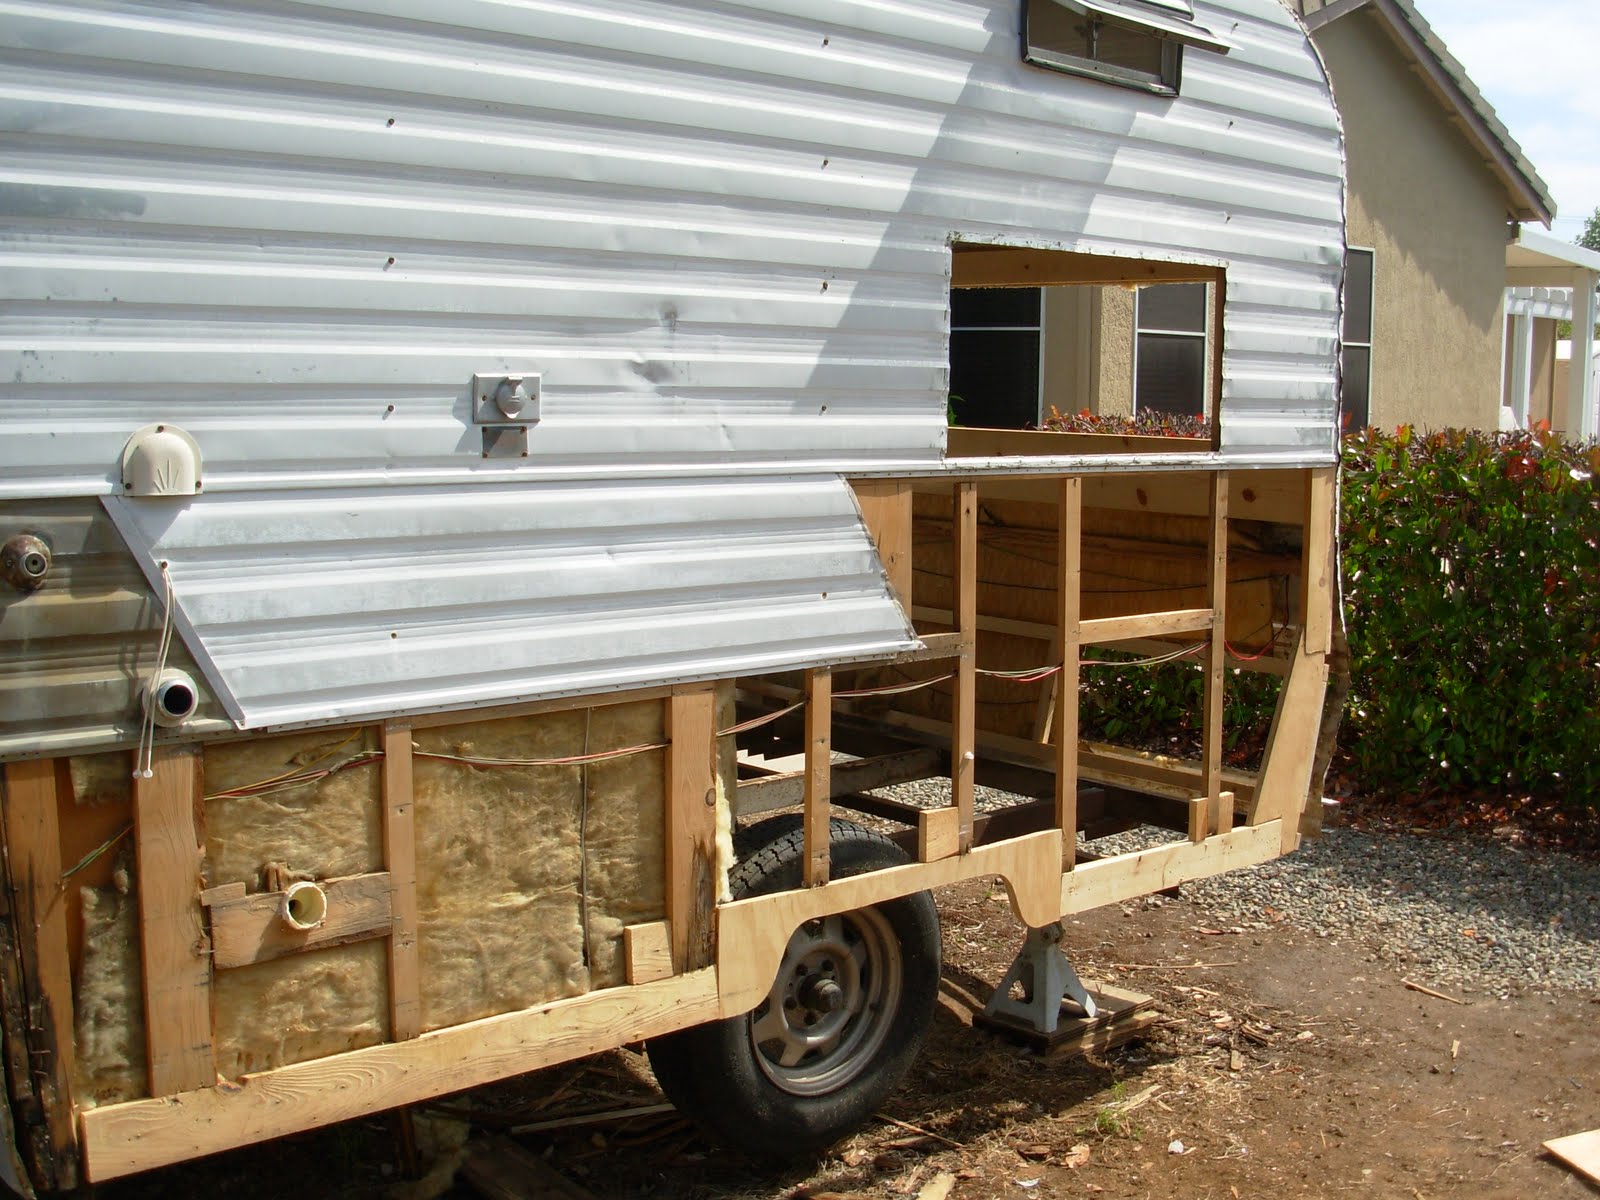
After the floor was laid we put the front end back on. The window still needs to be framed in and cut out of the hardboard. We used the white enameled sheets.

My dad wired up the 12 volt system and the 120v as well. I found a fuse board out of an old converter at the RV wrecking yard, so the 12v system will have up to 9 fuses available. The breaker box and fuse board is temporarily connected to the wall until we put the panelling up. A small amount of wiring will be contained in the ceiling and the the rest is all inside the cabinets. Easy access for changes and no chance of putting a staple through a wire in the wall.
You will want to click on these two pictures to get the larger versions. After a lot of discussion, my dad tapered a 2" piece of lumber down to 5/8" at each end, then attached it to the side of the existing rib. The ceiling is the same height inside,but gains a nice water shedding, taught shape on the out side. Every piece we put up made it better. Originally there were only 3 ribs going across and several "floating ribs that were just glued to the ceiling. We ended up with seven "engineered" ribs spanning the roof.
Turning the yard into a sandbox. Lou's sandblaster makes easy work of stripping the rust and gunk from the steps. The steps work smoothly now. A coat or Rustoleum and they will be good as new. I will strip down the tongue of the trailer with the sandblaster as well.

We wanted to insulate the travel trailer and thought that foam might be the easiest. I was a little worried that it would not form nicely in the curves, but it went in like a champion. Hopefully the foam will help protect us from extreme temps and give us a little quieter environment. It feels great to see some progress on the interior of the rig.

Until next time...

Wednesday, May 19, 2010

Mending the Structure


The last time I posted, the Santa Fe looked like this. We have done a lot of work on her since then and she is almost ready for wiring and the new flooring. I am anxious to start working on the interior, Kimberly and I are Internet junkies and we are not above including every ones great ideas in our little rig. Slide out Porto Potties, recessed TVs, solar battery charger, who knows what we will be able to comfortably cram into the little 12' travel trailer.
 

We removed the floor to expose the undercarriage and the 2x3 that the entire back end of the trailer balances on. Seems like a lot of stress for the piece of 1.5" angle iron that the 2X3 rests on...
My father reminds me to check things that would not occur to me. The bolts holding the leaf springs and repacking bearings while the floor is off and the tires are off the ground. The bolts are in great shape. In fact most all of the 40 year old bolts and nuts will be reused on the project.
It took a couple of attempts (a day and a half) but we managed to get everything on the right rear corner lined up and solid.
After our success, we moved on to the other side. Pounds of screws and oodles of staples later, we had the skin removed. It looks a little rough but it's really not that bad.

We put in a few support pieces on the back wall to keep the trailer square and then measured and cut the replacement pieces for the left side. Kimberly using the brad nailer to secure the new lumber to the original frame pieces. The square blocks are added for support where there was minor damage on the ends of frame pieces.
The back end is looking brand new. Rear wall and side walls are solid and square. The skin matches up with the frame and that was no easy feat... It is amazing how much trouble that being a quarter inch off is sometimes. Once Kimberly saw that we had to move a bolt everything came together nicely.
We dismantled the kitchen cabinetry and the closet so that we could get to the floor and replace the front wall. We are feeling fairly intimate with our little 1967 Santa Fe Cub about now...
A new piece of Masonite and a couple 1X2 boards square up the front end and allow for a dry fit of the door. It took my dad, Kimberly, and I several hours to get everything to line up properly. Without precise alignment, the aluminum skin will buckle or fall short.
The rear of the trailer seemed to have minimal support and my father suggested I beef up the area that supported the doorway and step. The pictures above show four new pieces of angle iron and the areas they reinforce.
My Folk's neighbor, Gene, came by with his welder and attached the new steel for me. Gene lays a really nice weld. When the electricity sounds like frying bacon in a cast iron skillet you know its gonna be pretty. He's damn limber for a guy in his 70's.

Until next time,

Thursday, May 13, 2010

What will today bring...


On Friday we started removing the seating, bedding and storage so that we could start repaneling the rear interior of the trailer. We ran into damage along the way but nothing too scary. We are prepared to do whatever it takes.
The goal is to reuse or recycle anything that we can. We are going to change the layout in the rear of the trailer a bit. Storage and entertainment center on the right wall and an "L" shaped seating arrangement along the back wall and left side of the camp trailer.

Once the furniture was out Kimberly went to work on the floor. We are laying new linoleum and I was anxious to see if the plyboard subfloor would need to be replaced. Turns out we will have to replace the subfloor. On a positive note, the floor was installed after the walls were put in. If the walls are in good or repairable shape, the floor will be easier to install. A lot of trailers are built with the walls on top of the floor.

Removing the paneling revealed a small amount of water damage in the lower corners. A few dollars worth of lumber will create a solid rig here. The upper right side wall is in great condition.

We took the skin off the right side so that we could make a pattern for the wood on the opposite side. Turns out the wood lasted just long enough to get the measurements we needed. I am happy that we don't have to remove the upper skin or walls to fix the dryrot.

It was a long, informative day and I wanted to study the pictures we had taken and be fresh to start putting in the new framing. So we finished up after cutting out the custom pieces.